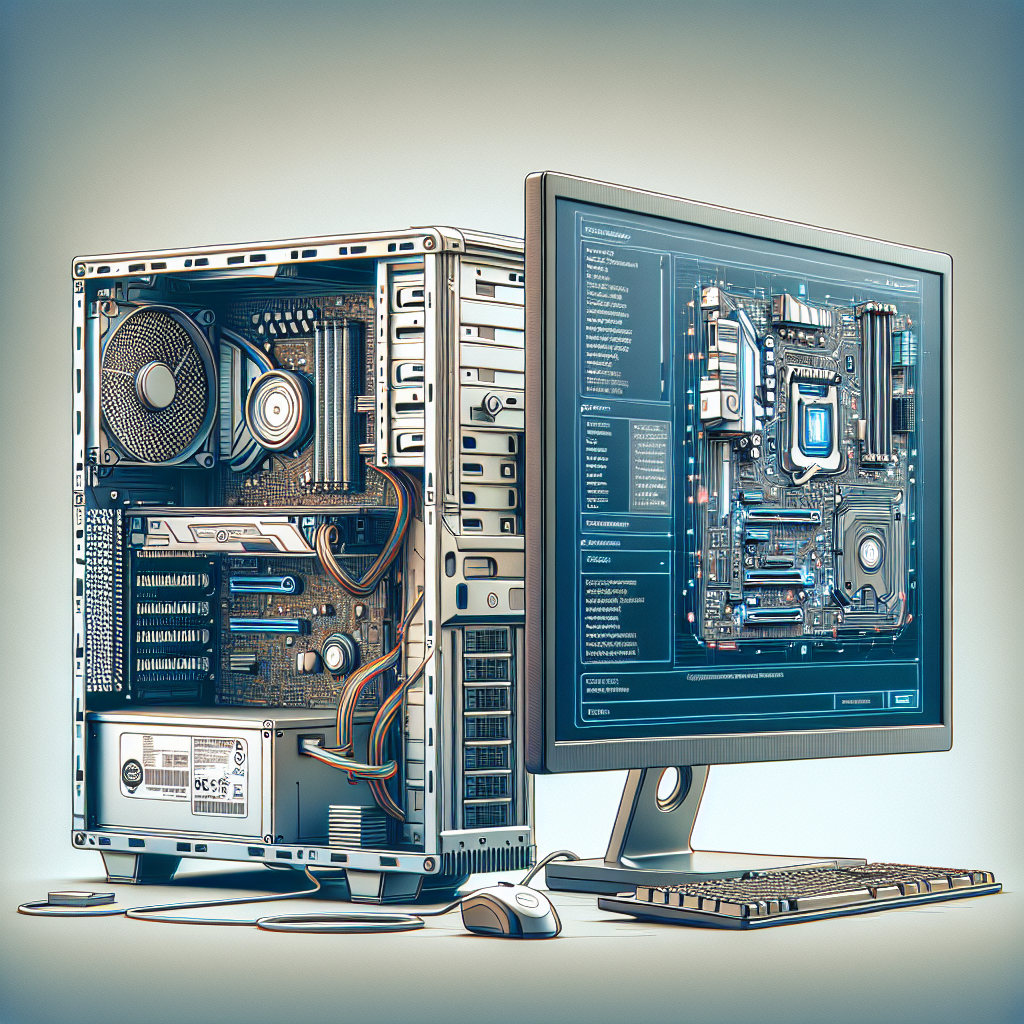
Building a custom PC is an exciting venture, but it doesn’t end with just assembling the hardware. The next crucial step is installing an operating system (OS) to make the computer functional. This guide will walk you through the detailed steps to install an OS on your custom-built PC.
Step-by-Step Guide to Install an Operating System
1. Prepare Your Installation Media
Before you can install an operating system, you need a bootable installation media. Here’s how you can prepare one:
- Download the OS ISO File: Visit the official website of the OS you wish to install (e.g., Windows, Linux) and download the ISO file.
- Create a Bootable USB Drive: Use tools like Rufus (for Windows) or Etcher (for multiple OS) to create a bootable USB drive. Ensure the USB drive has at least 8GB of space.
2. Enter BIOS/UEFI
Once your installation media is ready, you need to configure your PC to boot from it. Follow these steps:
- Restart Your PC: Turn on your PC and immediately press the BIOS/UEFI access key (commonly Delete, F2, ESC) to enter the BIOS/UEFI setup.
- Navigate to Boot Menu: In the BIOS/UEFI interface, go to the Boot tab and set your USB drive as the primary boot device.
- Save and Exit: Save your changes and exit the BIOS/UEFI setup. Your PC will restart and boot from the USB drive.
3. Start the OS Installation Process
With the bootable media ready and BIOS configured, you can begin the installation:
- Select Language and Preferences: Once the installer loads, select your preferred language, time and currency format, and keyboard layout.
- Click Install Now: Proceed by clicking the ‘Install Now’ button to start the installation process.
- Enter Product Key (if applicable): If you’re installing Windows, you might need to enter a product key.
- Select Installation Type: Choose ‘Custom’ for a clean installation.
4. Partition Your Hard Drive
Partitioning your hard drive allows you to organize your storage efficiently:
- Select Unallocated Space: Choose the unallocated space on your hard drive.
- Create New Partition: Click ‘New’ to create a new partition and allocate the desired amount of space.
- Format the Partition: Format the partition you created, then select it for the OS installation.
5. Complete the Installation Process
After setting up the partitions, the installation process will begin:
- Copying Files: The installer will copy necessary files to your hard drive. This process may take some time.
- Installation Progress: Follow on-screen instructions. Your PC may restart several times during installation.
- Set Up User Account: Once the installation is complete, you’ll be prompted to create a user account and set your preferences.
- Install Drivers: After the OS is installed, make sure to install all necessary drivers for your hardware components.
Troubleshooting Common Issues
Sometimes, issues may arise during installation. Here are common problems and their solutions:
| Issue | Solution |
|---|---|
| PC doesn’t boot from USB drive | Check BIOS settings and ensure USB drive is set as primary boot device |
| Installer cannot find the hard drive | Ensure your hard drive connections are secure and BIOS recognizes it |
| Error messages during installation | Note the error code/message and search for specific solutions online |
Final Steps
After successfully installing your OS and drivers, consider the following final steps:
- Update Your OS: Check for and install any available updates for your operating system.
- Install Software: Install essential software like browsers, security tools, and productivity applications.
- Back Up System: Once everything is set up, back up your system to avoid data loss.
By following these steps, you should be able to install an operating system on your custom-built PC successfully. Happy computing!

